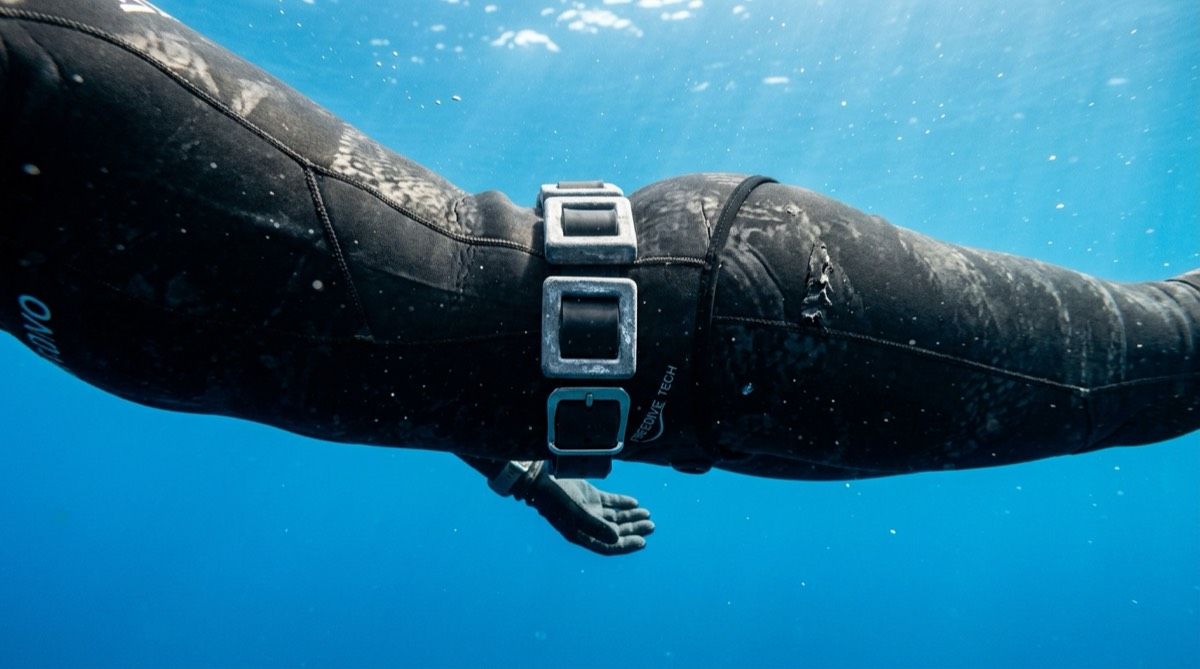
One of the most frustrating experiences for a beginner freediver is the constant battle with buoyancy.
If you don't have enough weight, you will spend massive amounts of energy kicking just to stay underwater. If you have too much weight, you will sink like a stone, which is incredibly dangerous and makes your ascent back to the surface exhausting.
Finding your neutral buoyancy is the secret to effortless, relaxed freediving. Here is a complete guide to understanding freediving weights and setting up your belt correctly.
The Concept of Neutral Buoyancy
Neutral buoyancy is the exact point in the water column where you neither float up to the surface nor sink down to the bottom. You simply hover in place, completely weightless.
In scuba diving, you control your buoyancy using a BCD filled with air. In freediving, you don't have that luxury. Your buoyancy changes naturally as you descend. Because the water pressure increases with depth, the air in your lungs compresses. As your lungs get smaller, you become less buoyant (less floaty).
This means a freediver is naturally positively buoyant (floating) at the surface, neutrally buoyant at a specific depth, and negatively buoyant (sinking) below that depth.
The Magic Number: 10 Meters
For recreational depth freediving and Wave 1 courses, the standard safety rule is to set your neutral buoyancy at around 10 meters (33 feet).
Why 10 meters?
- If you experience a problem at depth and need to be rescued, your buddy can easily bring you to 10 meters, and from there, the positive buoyancy of your body will naturally float you the rest of the way to the surface.
- It ensures you are positively buoyant during the most critical part of the dive: the final 10 meters of your ascent, when your oxygen levels are lowest.
How to Check Your Neutral Buoyancy
You cannot guess your weight; you have to test it in the water. Every time you change your wetsuit (e.g., switching from a 1.5mm to a 3mm suit) or move from the ocean to a freshwater pool, your buoyancy will change. Our freediving equipment guide covers which wetsuit thickness to choose for Phuket.
The Surface Exhale Test:
- Put on all your gear (mask, fins, wetsuit, and weight belt).
- Enter the water and hold onto a buoy.
- Take a normal, relaxed breath in, and hold it. Do not tread water.
- You should be floating comfortably with the water level sitting somewhere between your collarbones and your chin.
- Next, exhale normally (do not force every last drop of air out, just a relaxed exhale).
- You should slowly start to sink, but the water should not go higher than your eye level.
If you sink immediately on a full breath, you are over-weighted. Take a weight off. If you exhale completely and your shoulders are still out of the water, you are under-weighted. Add a small weight.
Safety Warning: Better Under-Weighted Than Over-Weighted
Many beginners want to add extra weight because it makes the initial duck dive easier. Do not do this.
Being over-weighted is the most common and dangerous mistake beginners make. It means you will have to fight to swim back to the surface, burning precious oxygen when you need it most. It is always better to be slightly under-weighted and practice your duck dive technique than to rely on heavy weights to drag you down.
Two more rules for your belt:
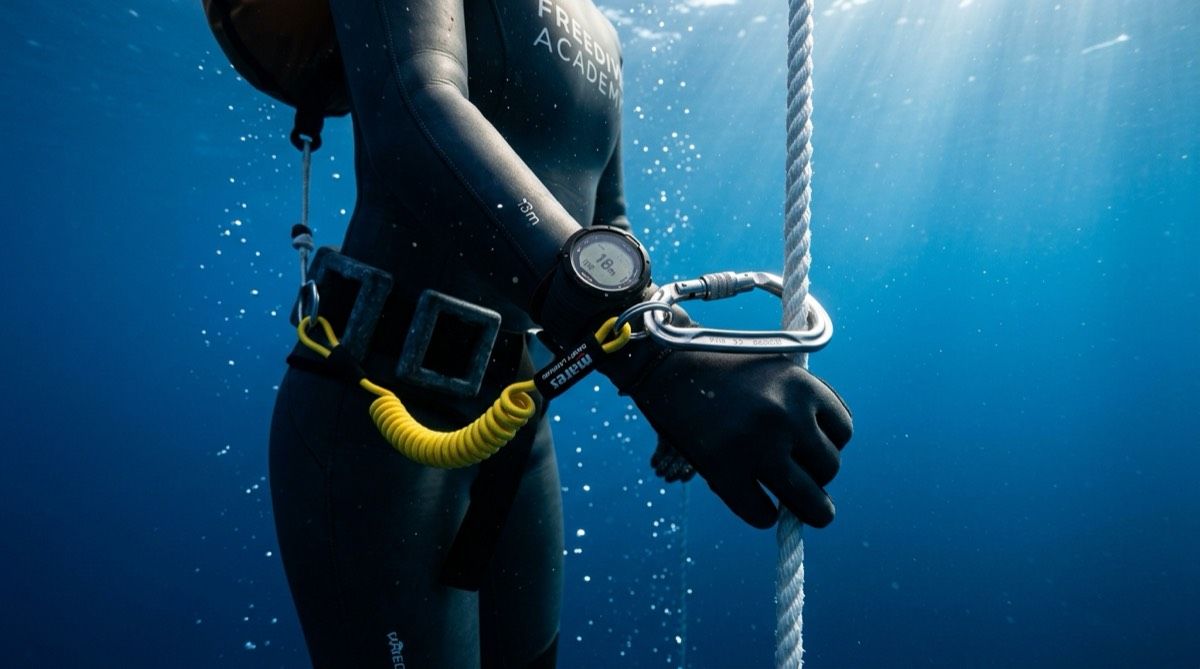
- Use a quick-release buckle. In an emergency at the surface, you or your buddy must be able to drop the weights with one hand.
- Wear it on your hips, not your waist. A belt that sits on your hips will not restrict your diaphragm during the breathe-up.
Never dive without a buddy, whatever your weighting. Read our freediving safety rules before your next session.
Master Your Setup
Buoyancy is a feeling that takes practice to master. Once you find your perfect weight setup, diving transforms from a physical struggle into a peaceful glide.
Want to get your weighting dialed in perfectly? Join our instructors for a Wave 1 Beginner Course or a dedicated pool session, and we will help you find that perfect feeling of weightlessness.